Caution!
GeoGeBra and alignment gauge files made by GeoGeBra is prohibited for commercial use.
Adjustment may damage the cartridge/stylus/needle ,do it at your own risk.
The value might have differeces with the actual value on your player.
2017.08
Another two mode added ,use offset-angle provided by the user manual of record player ,cartridge can be aligned to the headshell.
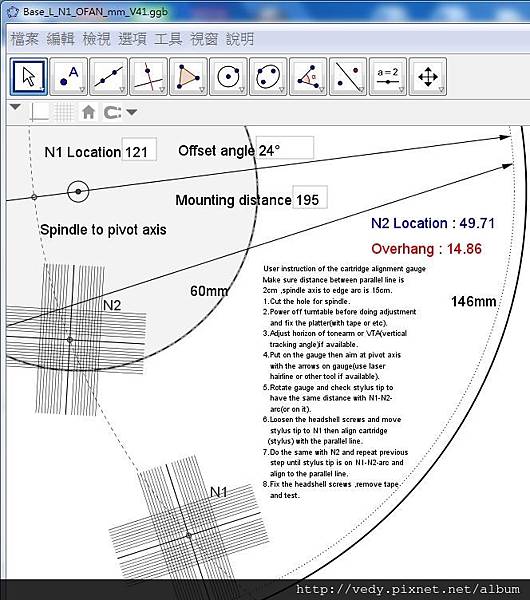
[Gauge by N1 ,Mounting distance ,Offset-angle ;Units in mm and degree.](open in new page and wait for loading)
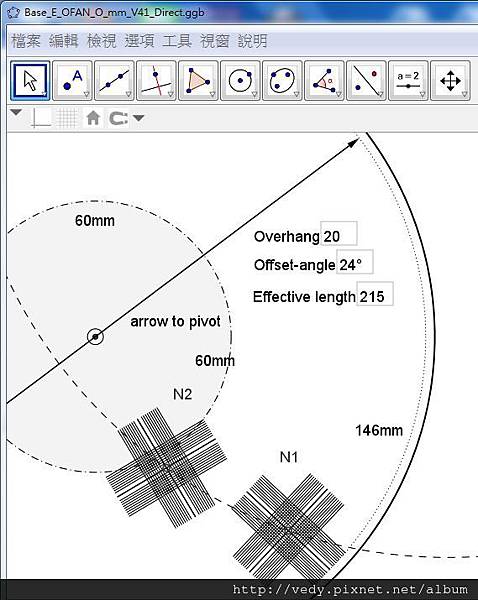
[Gauge by Effective-lenght ,Overhang ,Offset-angle ;Units in mm and degree.](open in new page and wait for loading)
Please go from STEP1 ,install GGB and download the GGB file above for the gauge print-out.
2016.12
[Gauge by N1 ,N2 ,Mounting distance](open in new page and wait for loading)
Simply input Null-points location ,Mounting distance and get alignment guage for your record player.
Made by GeoGeBra - A dynamic geometric software
***HTML file have problem in ratio for print-out***
***If you don't want to install GeoGeBra ,please go to STEP2 ,It may use ratio 716:1000 at STEP3 for print out***
It's suggested that export the gauge file and install/use GeoGeBra for clear and correct print-out.
Get value of effective length and overhang from user manual of record player
Mounting distance = effective length - overhang
STEP1
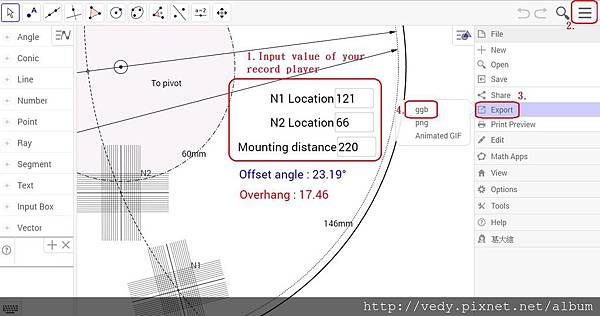
Input the value of mounting distance and null point 1 and 2(unit:mm) and export GGB file
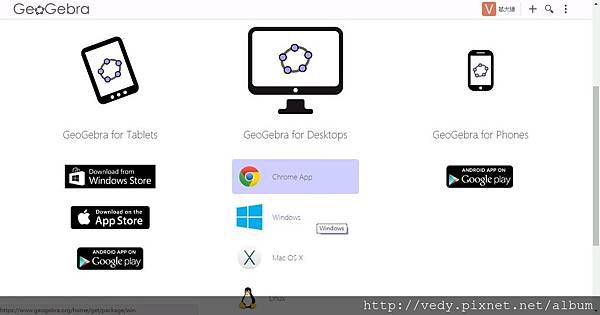
Download GeoGebra according to your operation system ,perform default setup.
Then open the exported GGB file in your computer.(go to STEP3)
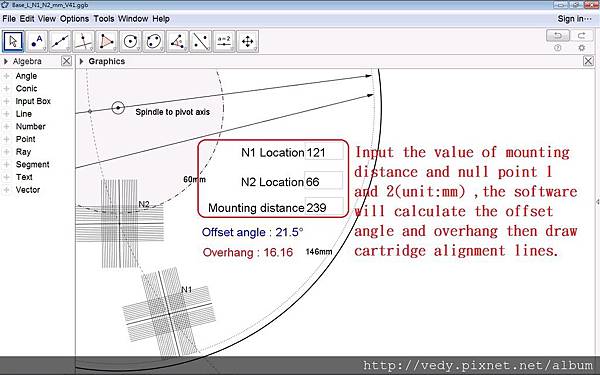
Input the value of mounting distance and null point 1 and 2(unit:mm) ,the software will calculate the offset angle and overhang then draw cartridge alignment gauge.
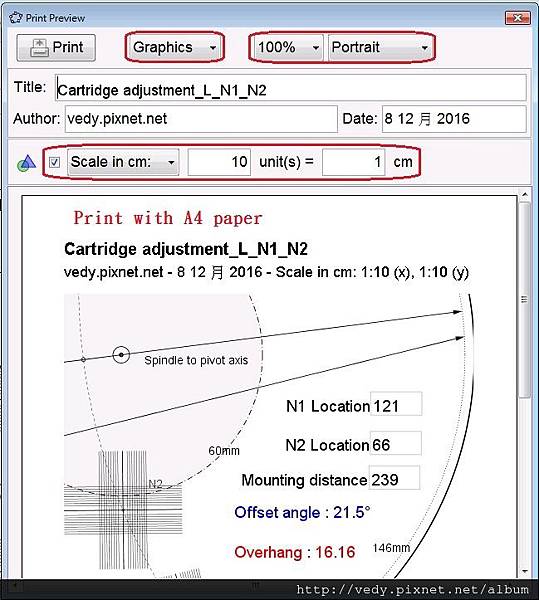
Print file with A4 paper use default setting , it's customlized cartridge alignment gauge.
STEP4
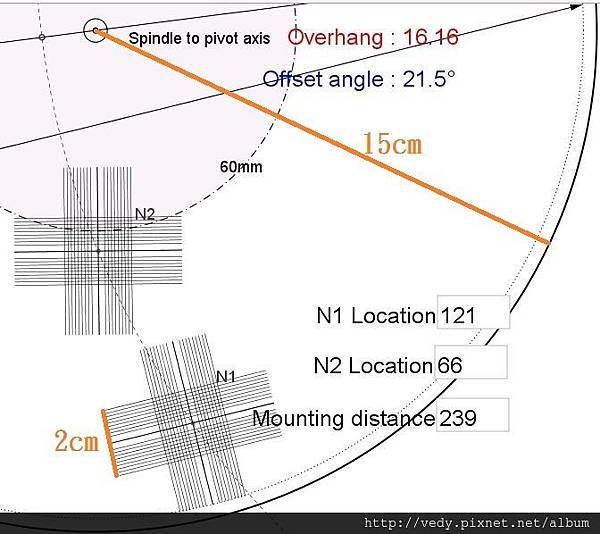
Make sure distance between parallel line is 2cm ,spindle axis to edge arc is 15cm.
STEP5
Power off turntable before doing adjustment ,cut the hole for spindle on printed A4 paper.
Put a record on platter and fix the platter(with tape or etc).

STEP6
Adjust horizon of tonearm or VTA(vertical tracking angle)if available.
STEP7
Put on the gauge then aim at pivot axis with the three arrows on gauge(use laser hairline or other tool if available).


STEP8
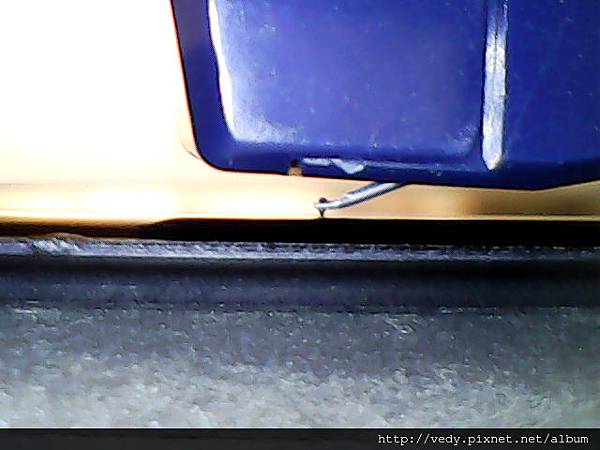
Slightly rotate gauge and check stylus tip to have the same distance with N1-N2-arc(or on it).

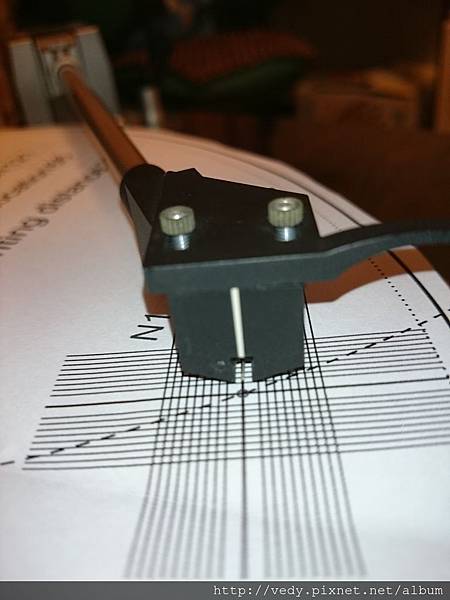
STEP9
Loosen the headshell screws and move stylus tip to N1 then align cartridge(stylus) with the parallel line.
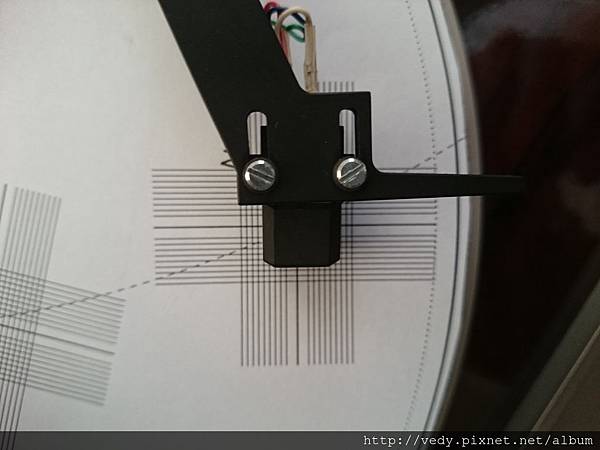
STEP10
Do the same with N2 and repeat previous step until stylus tip is on N1-N2-arc and align to the parallel line.
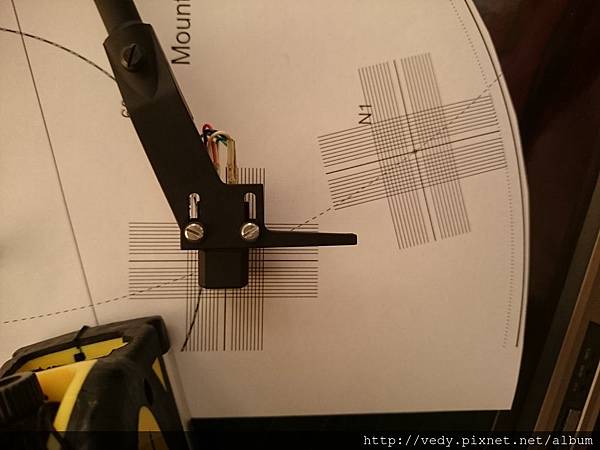
when done ,fix the headshell screws ,remove tape and test.


 留言列表
留言列表

